
Drawing a mockingbird might sound like a daunting task, but it doesn’t have to be! With a few simple steps, anyone can transform a blank sheet of paper into a charming rendition of this delightful bird. Whether you’re an aspiring artist or just looking to impress your friends with your newfound skills, this guide makes it easier than pie— and trust us, pie is pretty easy to eat!
Mockingbird Drawing Easy
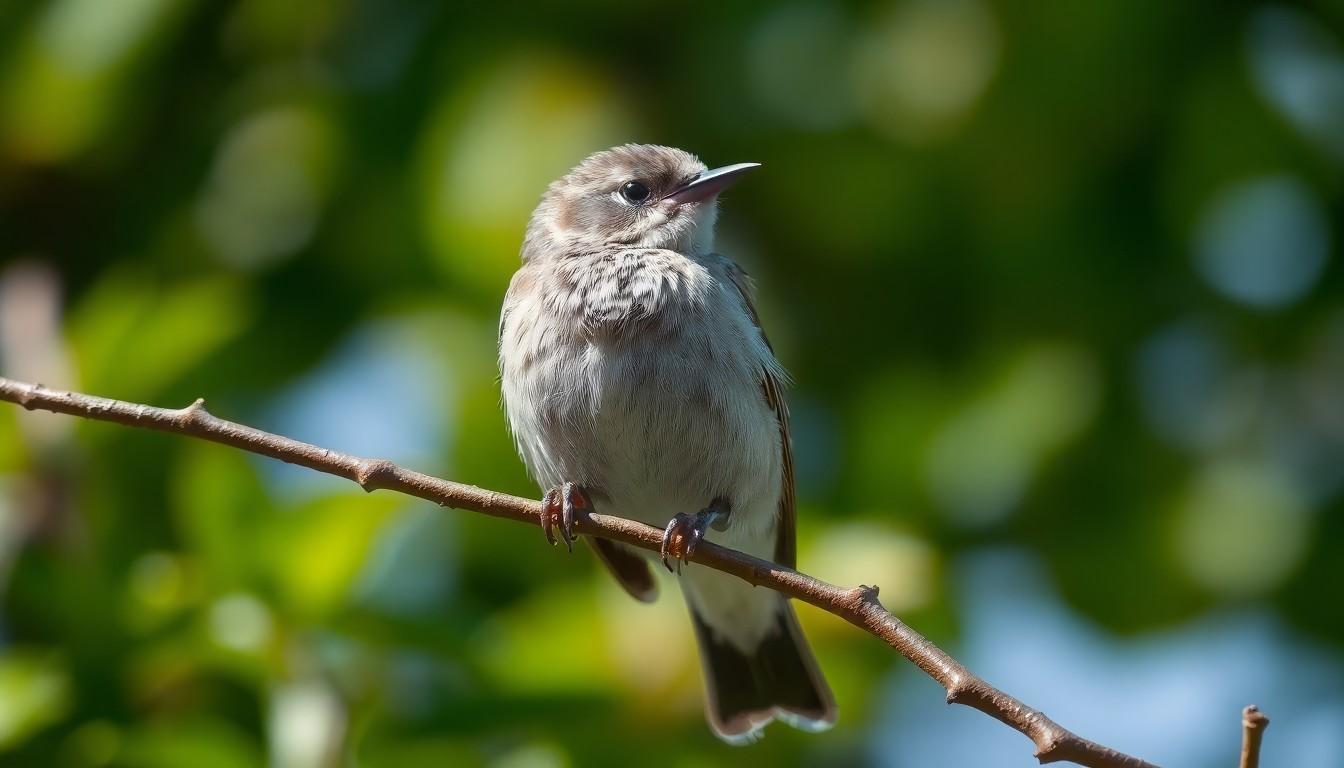
Mockingbird drawing combines simple techniques with attention to detail. Many people find it approachable due to the bird’s recognizable features. Artists can start by sketching an outline of the bird’s body, which consists of a rounded shape for the body and a distinct head.
Focus on the placement of the beak and eyes. The beak is slightly curved, while the eyes are round and expressive. Incorporating light strokes for initial outlines helps maintain flexibility during the drawing process. After the basic shapes are in place, details can be added such as feathers and markings.
Shading plays a critical role in creating depth. Applying darker tones around the wings and lighter ones on the belly enhances the three-dimensional look. Use layering techniques with pencils or colors to achieve a realistic effect.
Consider the environment when completing the drawing. Placing the mockingbird in its natural setting, such as a branch with surrounding foliage, adds context. Using soft lines and fluid shapes for leaves can complement the bird’s form and elevate the overall composition.
Practice leads to improvement. Artists can reference photographs and real-life observations to understand the mockingbird’s nuances better. Engaging in regular drawing sessions builds confidence and enhances skills, allowing for more intricate and personalized representations of this enchanting bird.
Tools and Materials Needed

Gathering the right tools and materials enhances the drawing experience for mockingbirds. The following sections provide recommendations for essential supplies and optional tools that make the process easier.
Recommended Drawing Supplies
Pencils of varying hardness are crucial. Use 2H for initial sketches and later switch to softer grades like HB for detailing. Quality drawing paper is necessary; choose a smooth surface for clean lines. Additionally, erasers eliminate unwanted marks. Colored pencils or watercolors add vibrancy to the mockbird’s feathers. Fine-tipped pens create stable outlines and assist in intricate detailing. Lastly, a ruler may help with structural balance, especially in landscapes.
Optional Tools for Beginners
Blending stumps are useful for artists seeking softer transitions in shading. A sketchbook promotes frequent practice and development of skills. Use reference images to understand anatomy and proportions better. Markers provide bold colors and help define shapes. Online tutorials serve as valuable resources for technique improvement. Investing in a beginner’s drawing kit can simplify the process by providing a curated selection of essential tools.
Step-by-Step Guide to Drawing a Mockingbird
Creating a drawing of a mockingbird starts with simple steps that build a solid foundation.
Sketching the Basic Shapes
Begin with an oval shape for the body, placing it horizontally on the paper. Next, add a smaller circle at one end for the bird’s head. Sketch a triangle for the beak, and draw a short line for the neck, connecting the head and body. Create shapes for the wings, using curved lines that extend from the body. Lastly, include a small circle at the bottom for the tail. These simple shapes serve as guides for proportion and position, making it easier to add details later.
Adding Details and Features
Once the basic shapes are in place, it’s time to refine the drawing. Start defining the beak, making it pointed and sharp. Add round eyes near the top of the head. Detail the wings by sketching feather patterns with gentle curves. Incorporate texture along the body by drawing short lines to depict feathers. Pay attention to the legs, ensuring they’re thin and proportional to the body. Each feature enhances the bird’s character and brings the drawing closer to realism.
Finalizing the Drawing
Final touches bring the mockingbird to life. Use an eraser to remove any unnecessary sketch lines. Darken the outlines with a fine-tipped pen or pencil for clarity. Implement shading techniques on the wings and belly to create depth, employing darker tones at the wing edges. Optionally, add environmental elements like branches or foliage for further context. Capturing these final details gives the drawing more dimension and interest, completing the representation of this charming bird.
Tips for Improving Your Mockingbird Drawing Skills
Improving mockingbird drawing skills involves understanding common mistakes and mastering shading techniques. Attention to detail plays a crucial role in achieving better results.
Common Mistakes to Avoid
Many beginners overlook proportions, leading to distorted representations of the bird. Forgetting to lightly sketch the foundational shapes can create a challenging drawing experience. Inaccurate placement of the beak and eyes diminishes the overall likeness, so careful observation is essential. Artists might also neglect the importance of refining details, which can result in a flat appearance. Finally, rushing through the shading phase can hinder the creation of depth, causing the drawing to appear one-dimensional.
Techniques for Better Shading and Texture
Utilizing varying pressure on the pencil enhances shading quality. Starting with light strokes allows for adjustments before committing to darker lines. Gradually build layers of tone, focusing on the wings and belly areas for a more dynamic look. To create texture, gently use a blending stump to soften harsh lines and transition between tones. Additionally, incorporating cross-hatching techniques adds visual interest. Use reference images to study how light interacts with feathers, guiding more accurate shadow placement. Achieving these techniques results in a richer, more lifelike portrayal of the mockingbird.
Conclusion
Drawing a mockingbird can be a rewarding and enjoyable experience. By following the outlined steps and techniques, anyone can create an impressive representation of this beautiful bird. The process encourages creativity while building confidence in artistic abilities.
With practice and attention to detail, artists can refine their skills and develop a deeper understanding of the mockingbird’s anatomy and environment. Utilizing the right tools and materials will further enhance the drawing experience.
Embracing the journey of artistic growth will lead to more intricate and lifelike portrayals in the future. So grab those pencils and let the creativity flow.